Whether you are trying to keep your music from disturbing the neighbours, block traffic noise from your bedroom, or record without background hum, the goal is the same: soundproofing. But soundproofing is often misunderstood, and a little planning goes a long way. Here is a practical, step-by-step approach that actually works.
First, an important reminder: soundproofing blocks sound from travelling between spaces. If your goal is to reduce echo inside a room, that is acoustic treatment — a different job. This guide is about stopping sound from getting in or out.
Step 1: Find where the sound is leaking
Sound behaves like water — it finds the smallest gap and pours through. Before buying anything, walk around the room and look for the weak points: the gaps under and around doors, window frames, electrical outlets, and any vents. In most rooms, doors and windows are the biggest culprits, not the walls themselves.
Step 2: Seal the gaps first
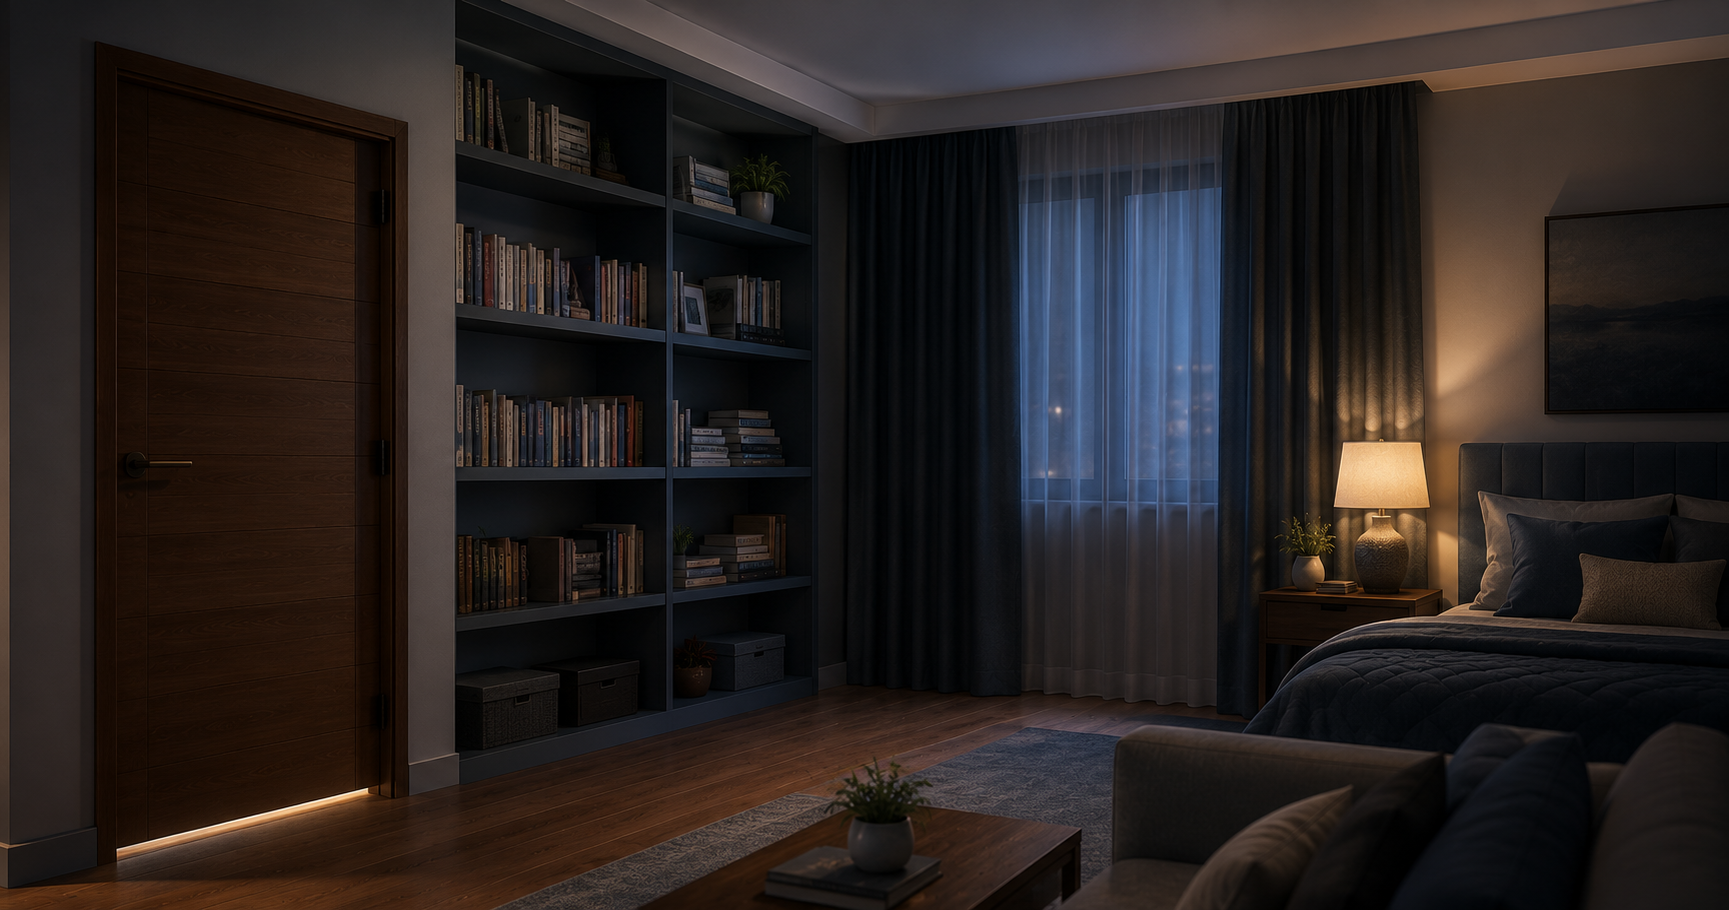
This is the cheapest and most effective first step. Sealing the gap under a door alone can make a surprising difference. Our Chord door seal kits are designed exactly for this — they close the gaps around a door so sound cannot slip through. Weatherstripping around windows helps too. Always seal before you spend on anything bigger.
Step 3: Add mass to the weak surfaces
Sound is blocked by mass — the heavier and denser a surface, the harder it is for sound to pass through. Thin, hollow doors and single-pane windows let the most sound through. Solid-core doors, heavy curtains over windows, and dense wall materials all add mass and cut down transmission.
Step 4: Tackle the low-end (bass)
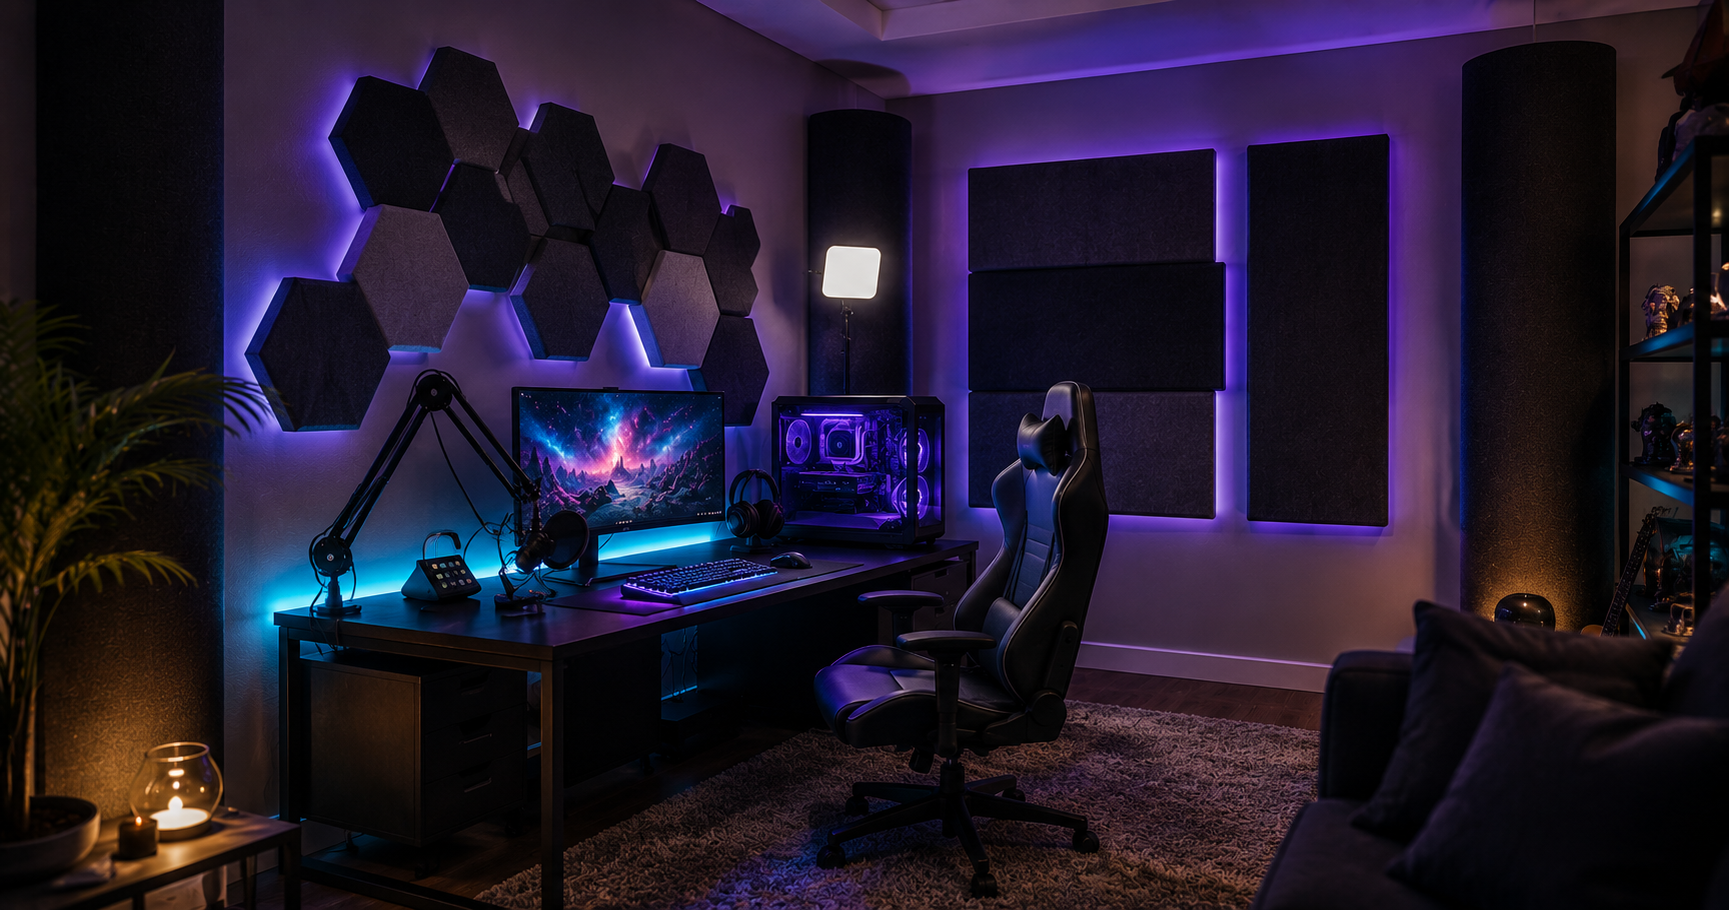
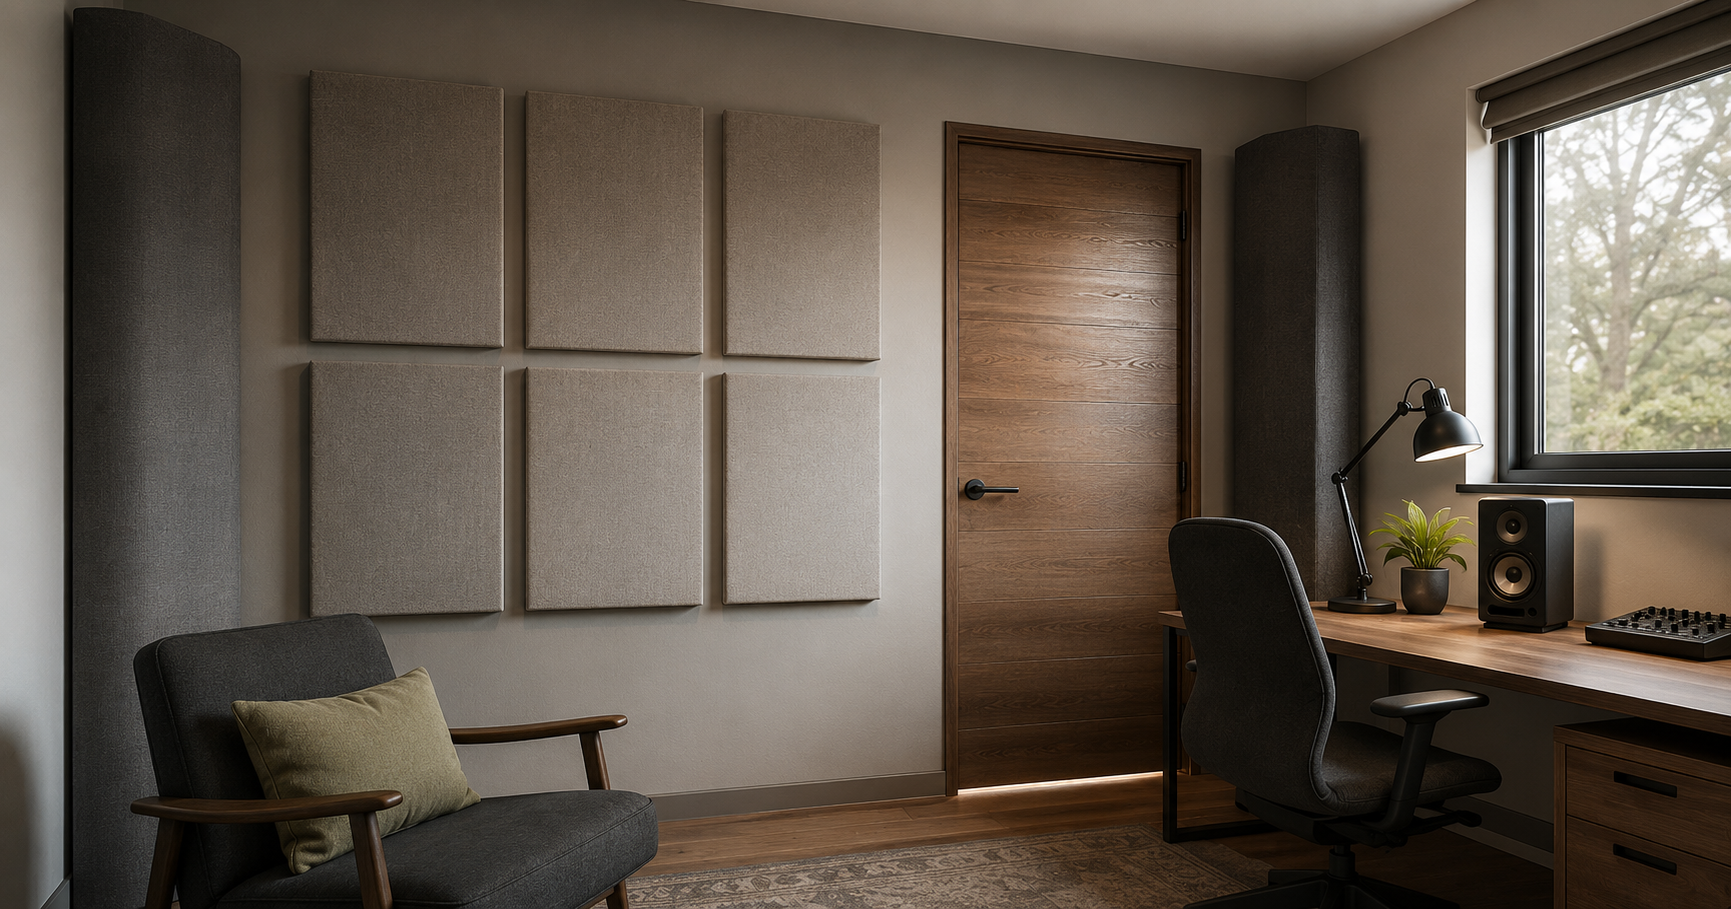
Low-frequency sound — the thump of a bass line or a home theatre — is the hardest to contain and travels furthest. It also builds up in the corners of a room. Adding bass traps in the corners helps manage this energy and is essential for studios and theatre rooms.
Step 5: Treat the inside too (if needed)
Once sound is staying in the room, you will often notice the room itself sounds echoey. That is where acoustic panels come in — they clean up the sound inside so recordings and playback are clear. Many home studios do both: soundproof the room to keep sound in, then add panels to make it sound good.
Common mistakes to avoid
- Buying panels expecting them to block noise. Panels improve sound inside a room; they do not stop it leaking out. Use soundproofing for that.
- Ignoring the door. A great wall is useless if there is a 1 cm gap under the door. Always seal first.
- Forgetting the bass. Low frequencies need corner bass traps, not flat wall panels.
Do you need to soundproof the whole room?
Usually, no. Most people get great results by focusing on the weakest points — the door, the windows and the corners — rather than rebuilding every wall. Start there, see how much it improves, and add more only if you need to. It saves money and effort.
Not sure where to start?
Every room is different, and the right plan depends on your space and what is bothering you. Tell us about your room and we will help you build a simple, budget-friendly plan — or ask Aria, our store assistant, for a quick recommendation.
Ready to quiet things down? Browse our soundproofing kits and bass traps and take back control of your space.